How To Wash Out Tie Dye?
As anyone who has ever made a tie-dye project knows, the final product’s success depends on how well you wash out the dye.
If you don’t wash it out properly, your shirt will dull and fade.
However, if you follow these simple steps, you can ensure that your finished product is vibrant and beautiful.
First, make sure that you have all the supplies that you need.
You will need soap, salt, and vinegar. You will also need a container that is large enough to fit your shirt, as well as a towel.
Next, wet your shirt in warm water. Add soap to the water and swish it around to create suds.
Add your shirt to the suds and let it soak for 10-15 minutes.
After the shirt has soaked, add salt to the water. The amount of salt will depend on the size of your container.
For a small container, add 1/2 cup of salt. For an enormous container, add 1 cup of salt. Stir the water to dissolve the salt.
Finally, add vinegar to the water. Again, the amount of vinegar will depend on the size of your container.
For a small container, add 1/4 cup of vinegar.
For an enormous container, add 1/2 cup of vinegar. Stir the water to distribute the vinegar evenly.
Let your shirt soak in this solution for 10-15 minutes.
Then rinse it thoroughly with cold water until the water runs clear.
Wash it in your washing machine using cold water and dry it on low heat or air dry it.
And that’s it!
By following these simple steps, you can ensure that your tie-dye project looks great!
Why Is It Important to Know How To Wash out Tie Dye?
Knowing how to wash out tie dye correctly is essential so that the colors stay bright and vibrant.
Here are some tips:
- Use cold water and mild detergent.
- Wash your tie-dye separately from other clothing.
- Be sure to rinse the fabric until the water runs clear.
- Hang your tie-dye to dry in a well-ventilated area.
These simple steps will help ensure that your tie dye retains its color and pattern for years.
So, next time you feel creative, don’t forget to follow these tips on How to Wash out Tie Dye!
The Materials You Will Need to Remove Excess Dye
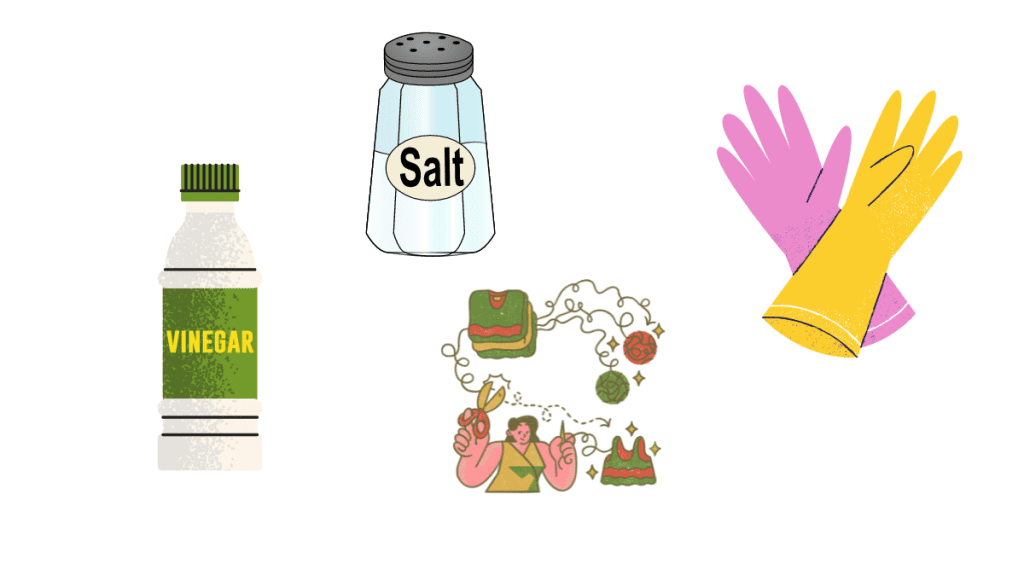
You will need a container, white vinegar, salt, rubber gloves, and old clothes.
First, fill your container with warm water and white vinegar. The ratio should be 1 cup of vinegar per 2 gallons of water.
Next, add salt to the mixture and stir until it is dissolved.
Now it’s time to get dyeing! Wore your old clothes and rubber gloves, and soak your fabric in the mixture for 30 minutes.
Once the time is up, rinse your fabric thoroughly with warm water.
Continue rinsing until the water runs clear.
Finally, wash your fabric in the washing machine in the hottest setting.
Congrats!
You have now successfully removed excess tie dye from your fabric.
What Are Some Easy Steps to Follow?
- Soak the tie-dye clothing item in cold water for about 15 minutes.
- You can also add a bit of mild detergent to help loosen the dye.
- Next, fill your washing machine with hot water and run it through a normal wash cycle. Be sure to wash the clothing item by itself first to avoid staining other clothing.
- After the cycle is complete, check the clothing item to see if any dye remains. If so, soak and wash again until the dye is completely removed.
- Finally, dry the clothing item according to the manufacturer’s instructions.
That’s all there is to it!
How Was Tie-Dye Art Invented?
One of the most popular fabric dyeing methods, tie-dyeing, was invented entirely by accident.
The earliest examples of tie-dye date back to 12th century China, where the cloth was dyed using a resist method that involved tying strands of thread around the fabric.
This method was then adopted by Japanese artisans, who used it to create elaborate patterns on kimonos.
It wasn’t until the 1960s that tie-dyeing became associated with the hippie counterculture in America.
During this time, a group of California artists began experimenting with different dying techniques, and it is believed that one of these artists accidentally discovered the tie-dye method.
Since then, tie dye has been used to create everything from fashion statements to works of art.
3 Fun Tie-Dye Ideas to Do With Kids
Summer is the perfect time to break out the tie-dye kits and get creative with color.
If you’re looking for some fun tie-dye ideas to try with your kids, here are three that are sure to be a hit.
For a classic look, try the spiral method.
Simply fold your fabric into a tight spiral, then wrap rubber bands around it to keep it in place.
Dip each section into a different dye color, then let it sit in the sun until the color changes.
When you’re ready to reveal your masterpiece, simply remove the rubber bands and enjoy your vibrant design.
If you want something a little more abstract, try the crumple method. Start by crumpling your fabric into a ball, then tie it tightly with string.
Dip it in the dye, then let it dry completely.
Once it’s dry, carefully untie the string and unfold your fabric to reveal a one-of-a-kind marbled pattern.
For a fun and colorful design, try the shibori method.
This Japanese technique involves gathering fabric and tying it into sections with string or rubber bands.
Dip each section into the dye, then let it dry completely before removing the ties.
You’ll be left with beautiful geometric patterns in whatever colors you choose.
So grab your tie-dye kit and get creative!
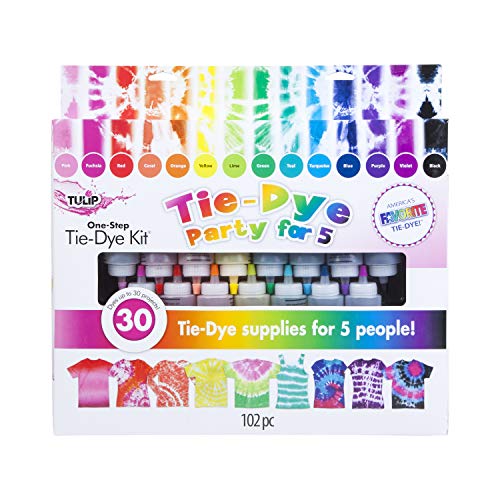
We earn a commission if you click this link and make a purchase at no additional cost to you.
These three methods are just a few of the many possibilities when it comes to tie-dyeing fabrics.
With a bit of imagination, you can create all kinds of fabulous designs.
Different Tie-Dye Techniques
Tie-dye is a textile printing technique in which fabric is soaked in dye and then tightly wrapped or knotted.
The fabric parts that are tied off resist the dye, resulting in patterns when the material is unwrapped.
There are a variety of tie-dye techniques, each with its own unique results.
The most common technique is spiral tie-dye, in which the fabric is rolled into a tight spiral and then dyed.
This results in a spiral Pattern.
Another common technique is ring tie-dye, in which the material is gathered and dyed into a ring.
This produces a series of concentric rings.
There are also more complex techniques, such as union jack tie-dye and sunburst tie-dye.
Union jack tie-dye involves folding the fabric into a Union Jack flag pattern and then dyeing it.
This results in a flag-like pattern.
Sunburst tie-dye consists in folding the material into a tight cone and then dyeing it.
This produces a sunburst Pattern.
Tie-dye is a fun and easy way to add color and interest to any textile project.
Final Thought
After you’ve rinsed your tie-dye shirt in cool water until the water runs clear, you’re not entirely done yet.
You still need to remove any excess dye from the fabric to prevent it from bleeding and staining other clothing.
The best way to do this is to soak the shirt in a solution of one part vinegar to four parts water for about 30 minutes.
This will help set the color and also remove any residual dye.
Once the shirt is soaked, rinse it in cool water, and machine washes it on the delicate cycle.
You can now enjoy your beautiful tie-dye shirt!


Leave a Reply
You must be logged in to post a comment.